Property Photography
Photographer
Interior photography, whether it's for interior design, real estate, or architecture, is an art in itself. Capturing the true essence and atmosphere of an interior space requires careful planning and technique. Here are some steps to consider while planning for an interior photography shoot:

Understand the Client's Requirement
Before you begin, make sure you have a detailed conversation with your client about their needs and expectations. Understand the purpose of the photos, the style they want to portray, and any particular aspects they want emphasized. It will require a different style and set of images if you are shooting for rental, for sale, for a magazine etc.
Visit the Location
Scout the location ahead of time, if possible. This allows you to understand the space, identify the best angles, sources of natural light, and plan your shots. It's also a good opportunity to discuss with the client any possible rearrangements of furniture or décor for optimal photographs.
Prepare a Shot List
Based on the client's requirements and your site visit, prepare a shot list. Include wide-angle shots that capture the overall space, as well as detail shots that highlight particular design elements or features. Always plan for extra shots as well.
Choose the Right Time
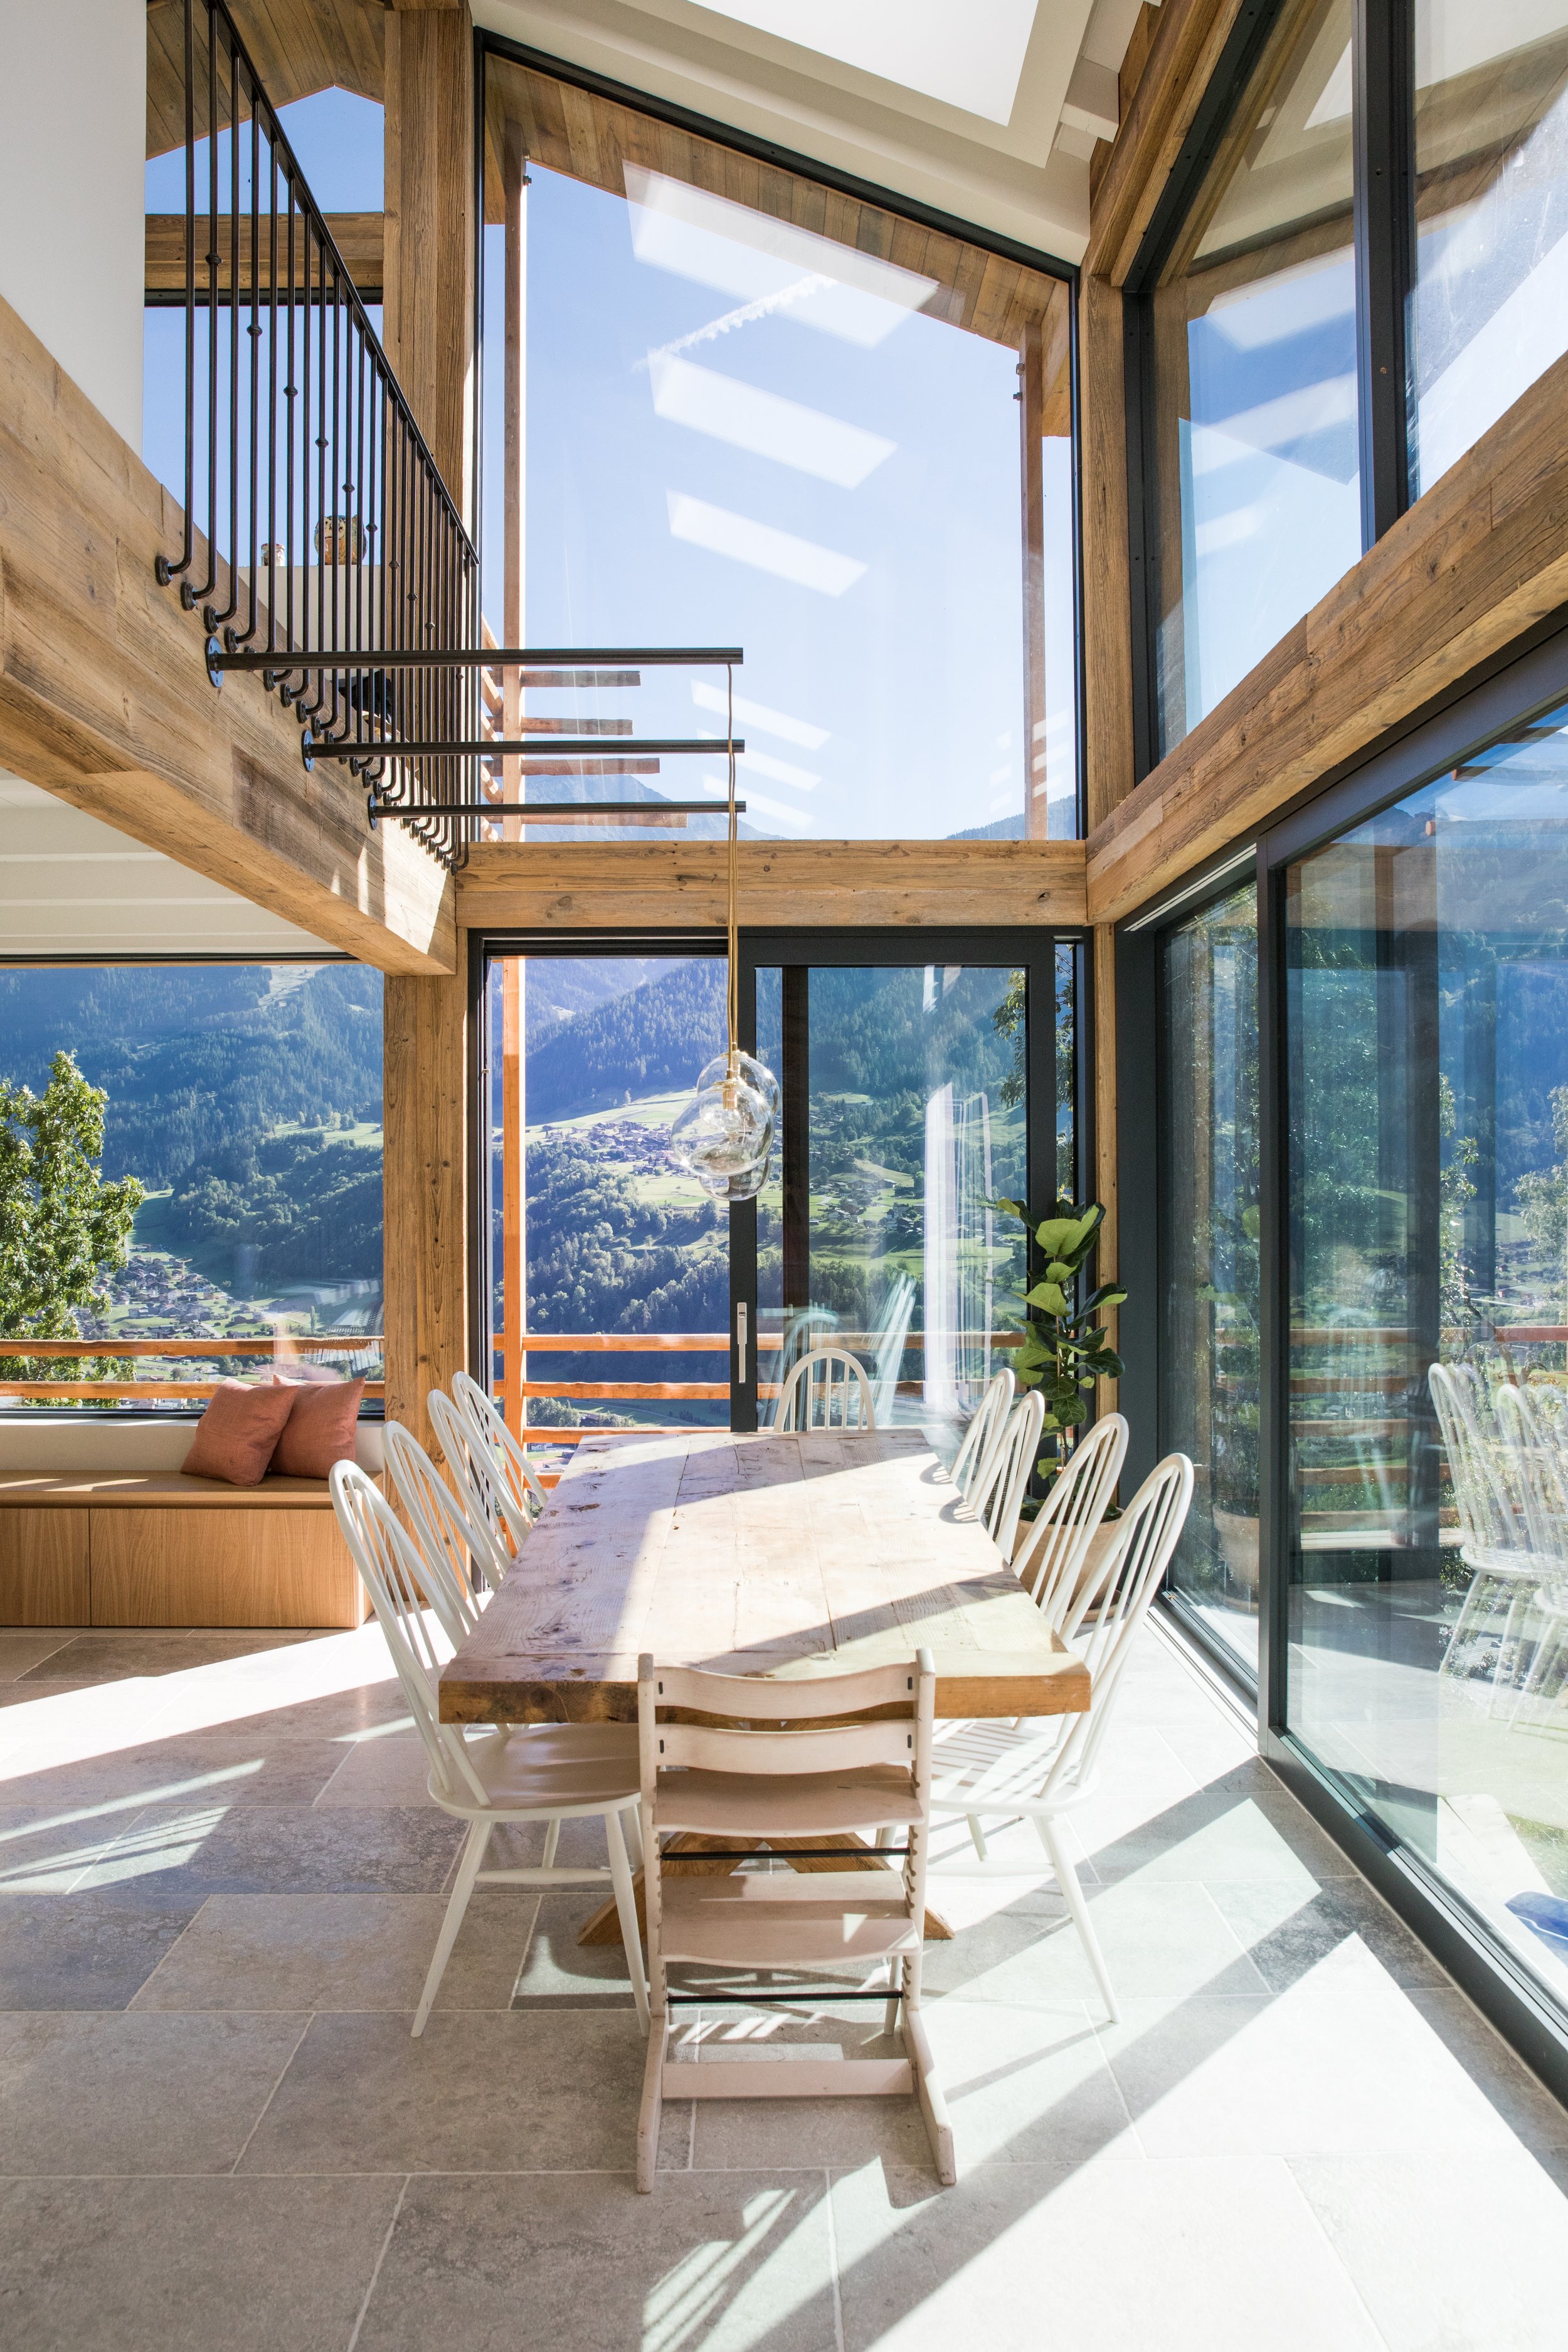
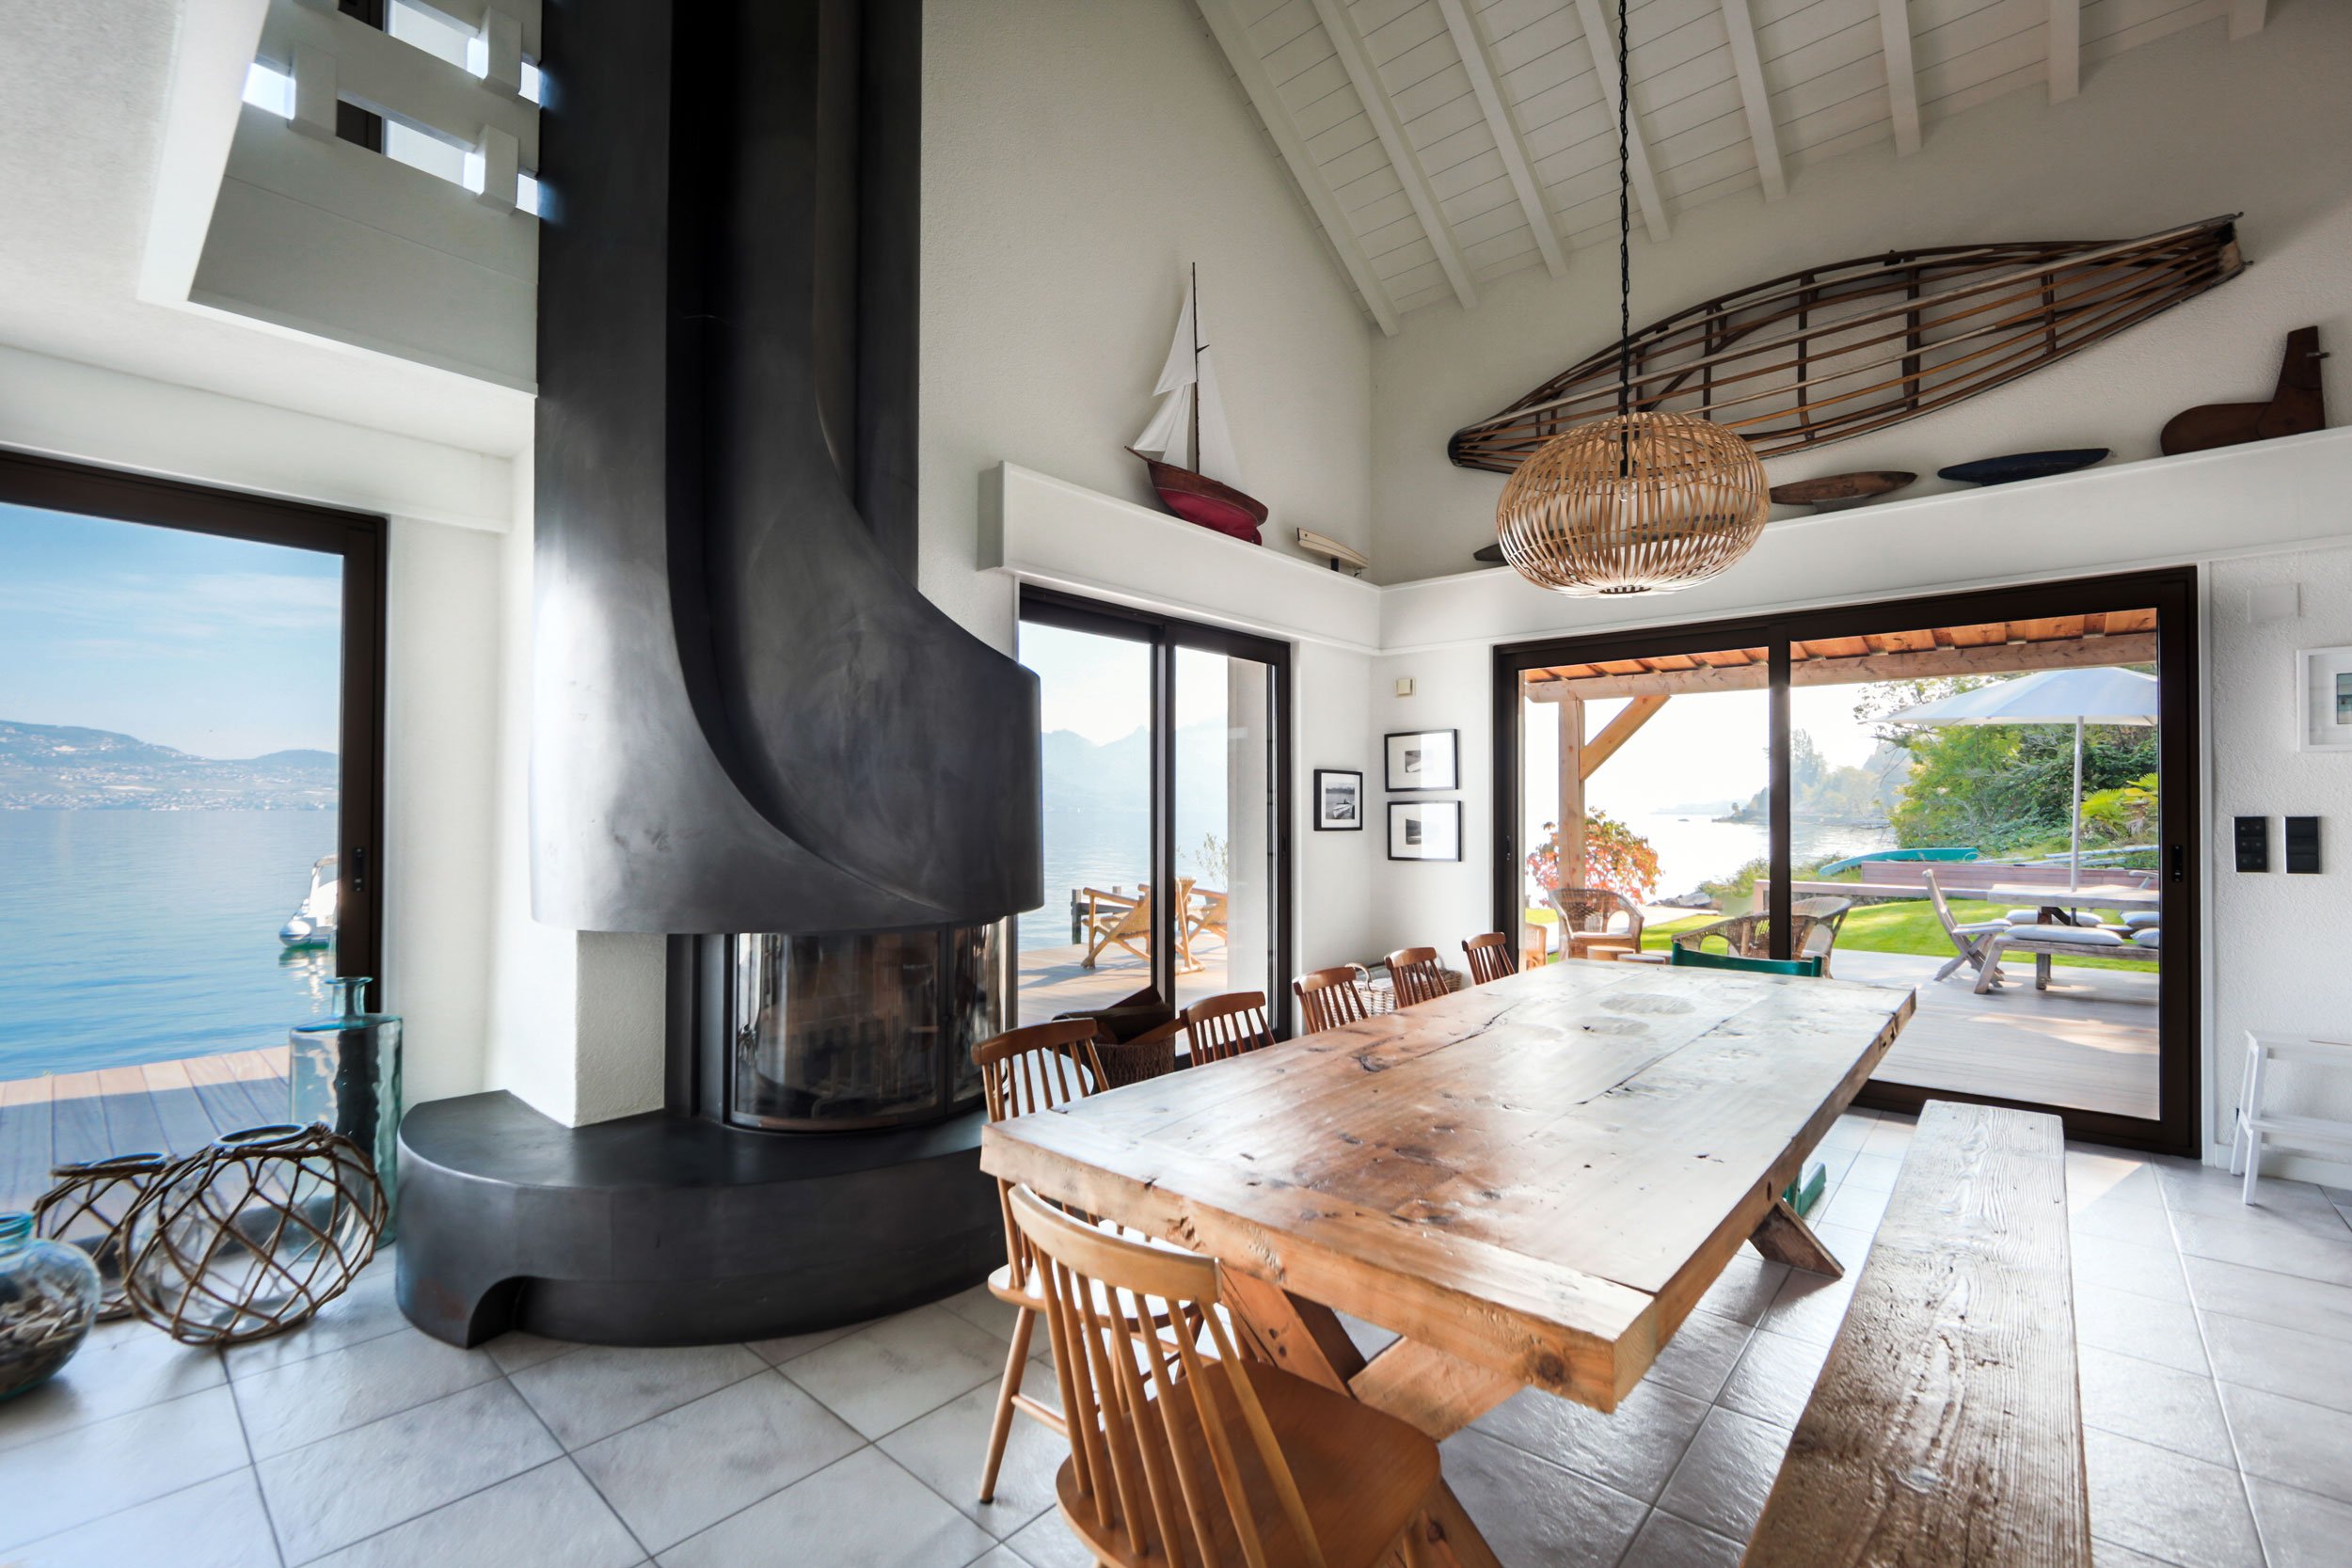
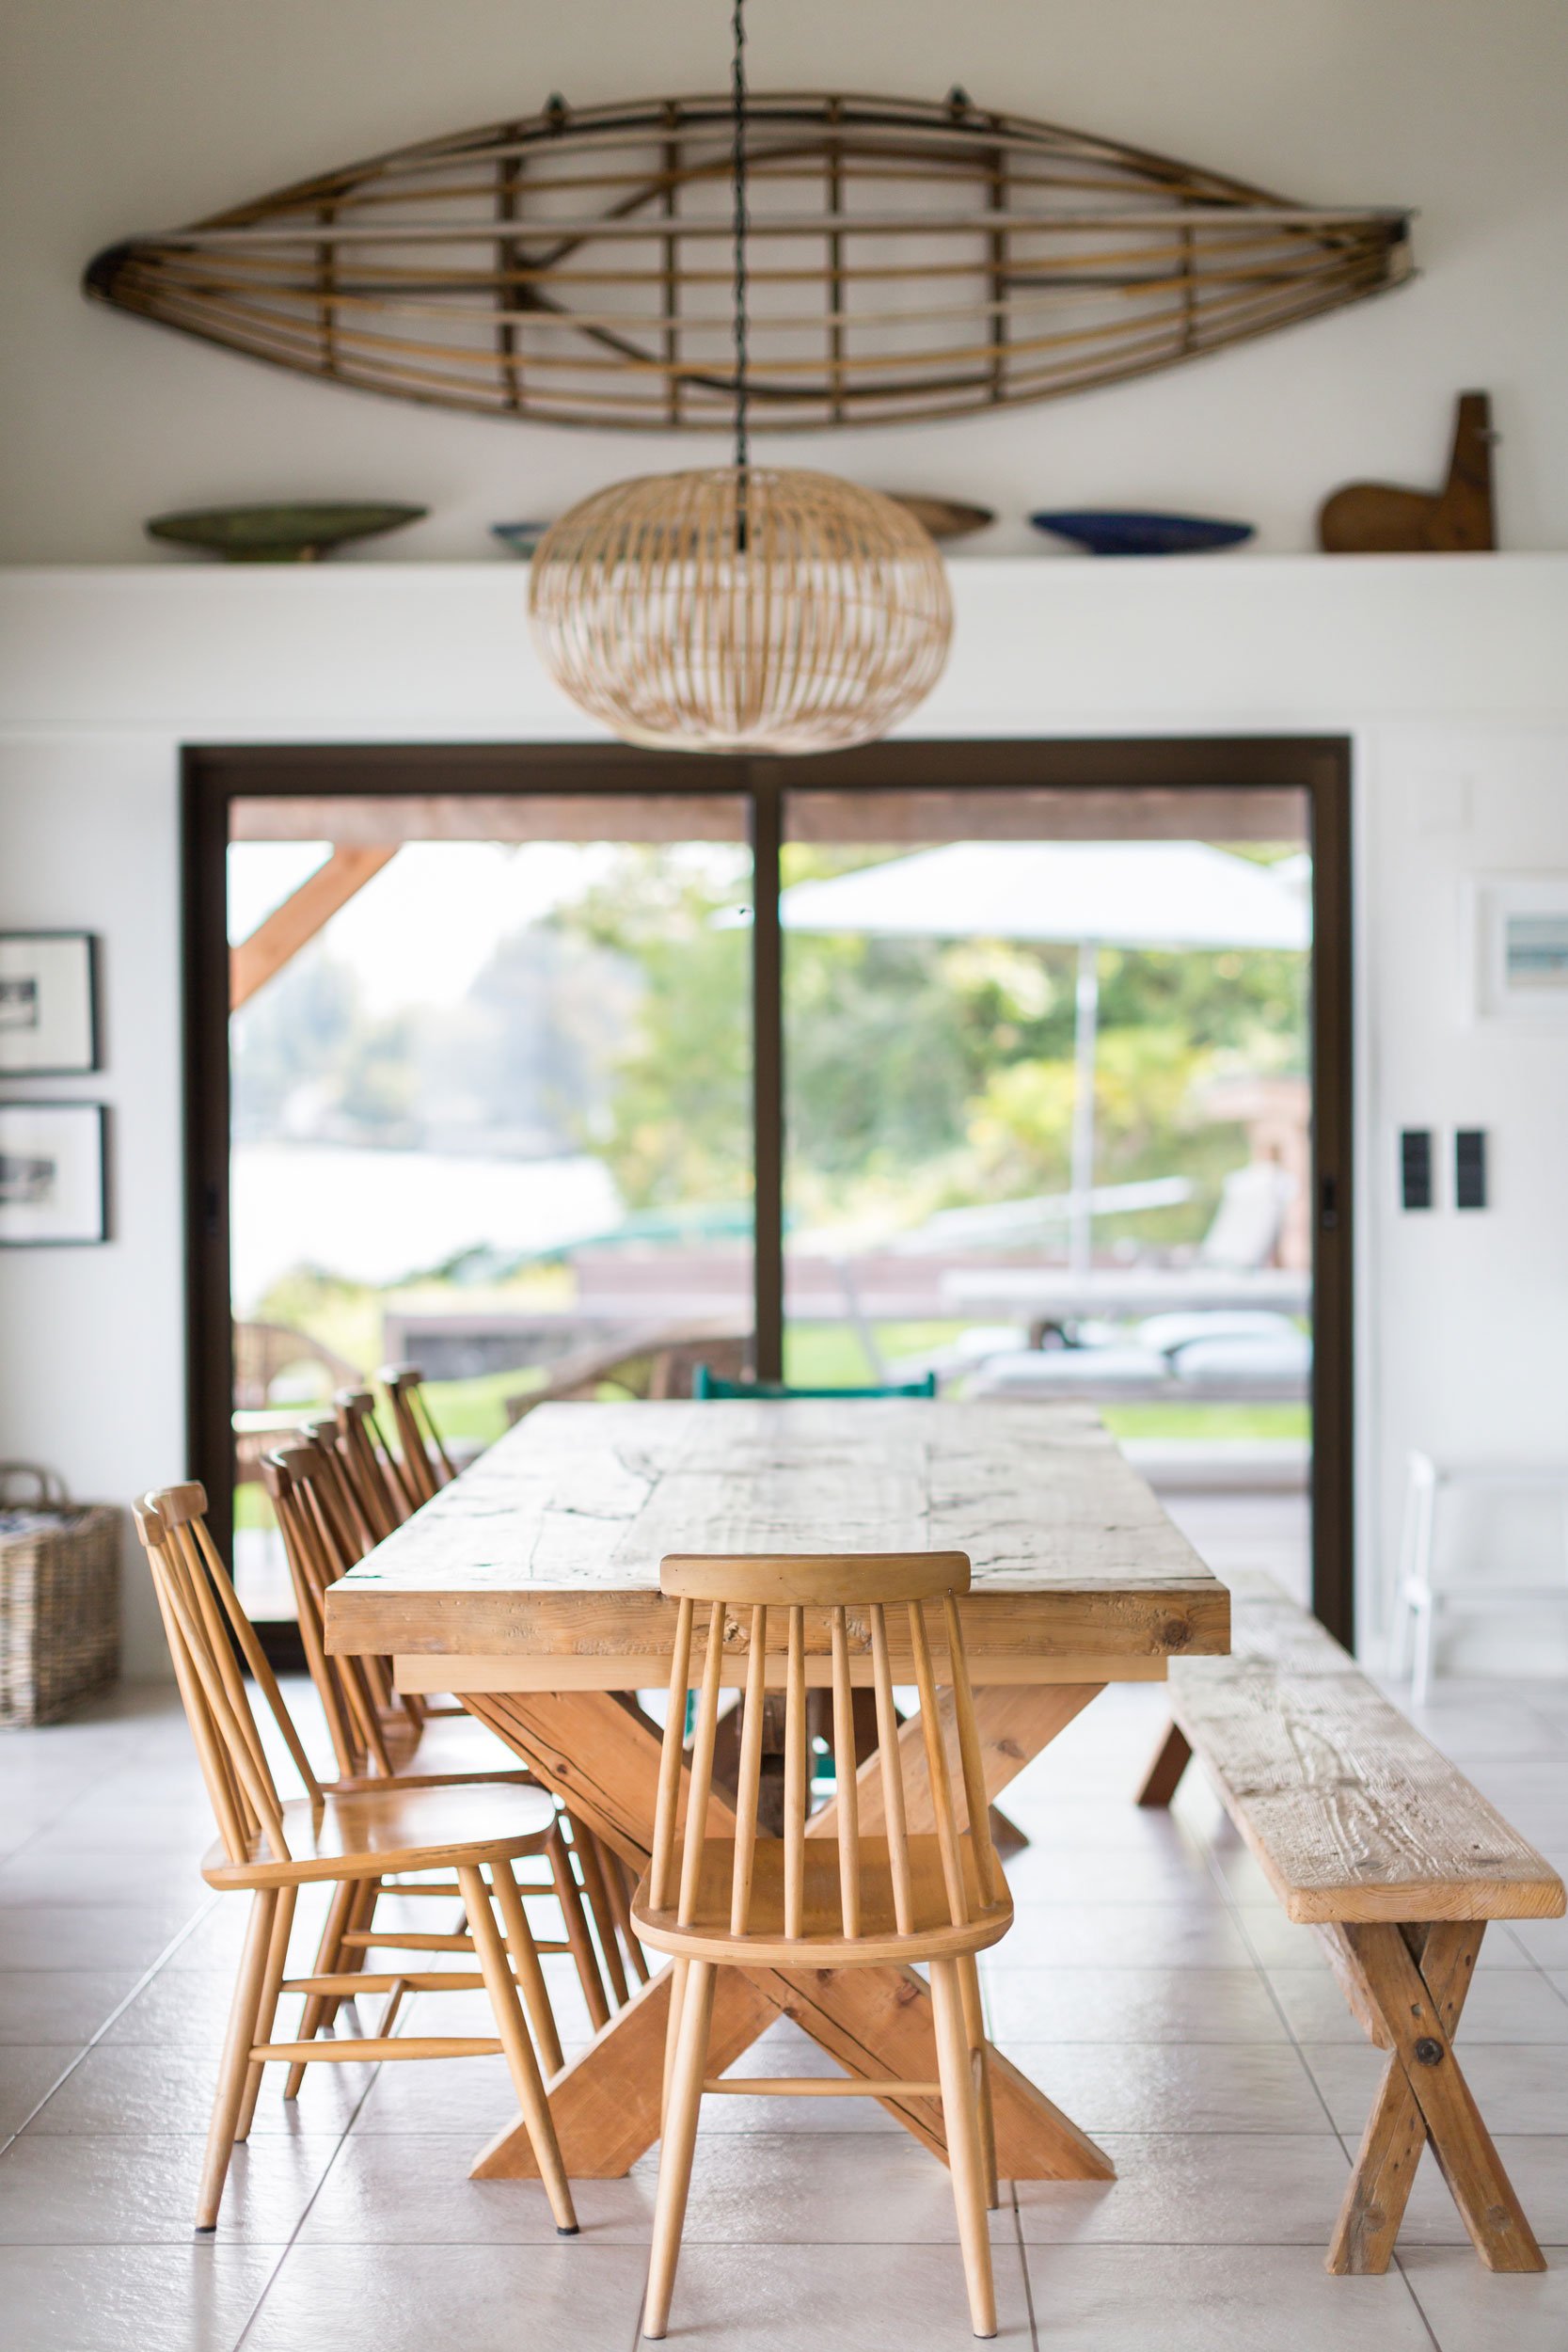
The best time for interior photography is usually during the day when you can take advantage of natural light. However, this depends on the specific location and direction of windows. If the location has great views from the window, you might want to shoot at a time that showcases that view. I like to avoid obvious shadows and highlights from high direct sunlight. Evenings can work really well if this is the specific shot your client is looking for. A lit fireplace and a cosy warm room can look very inviting.
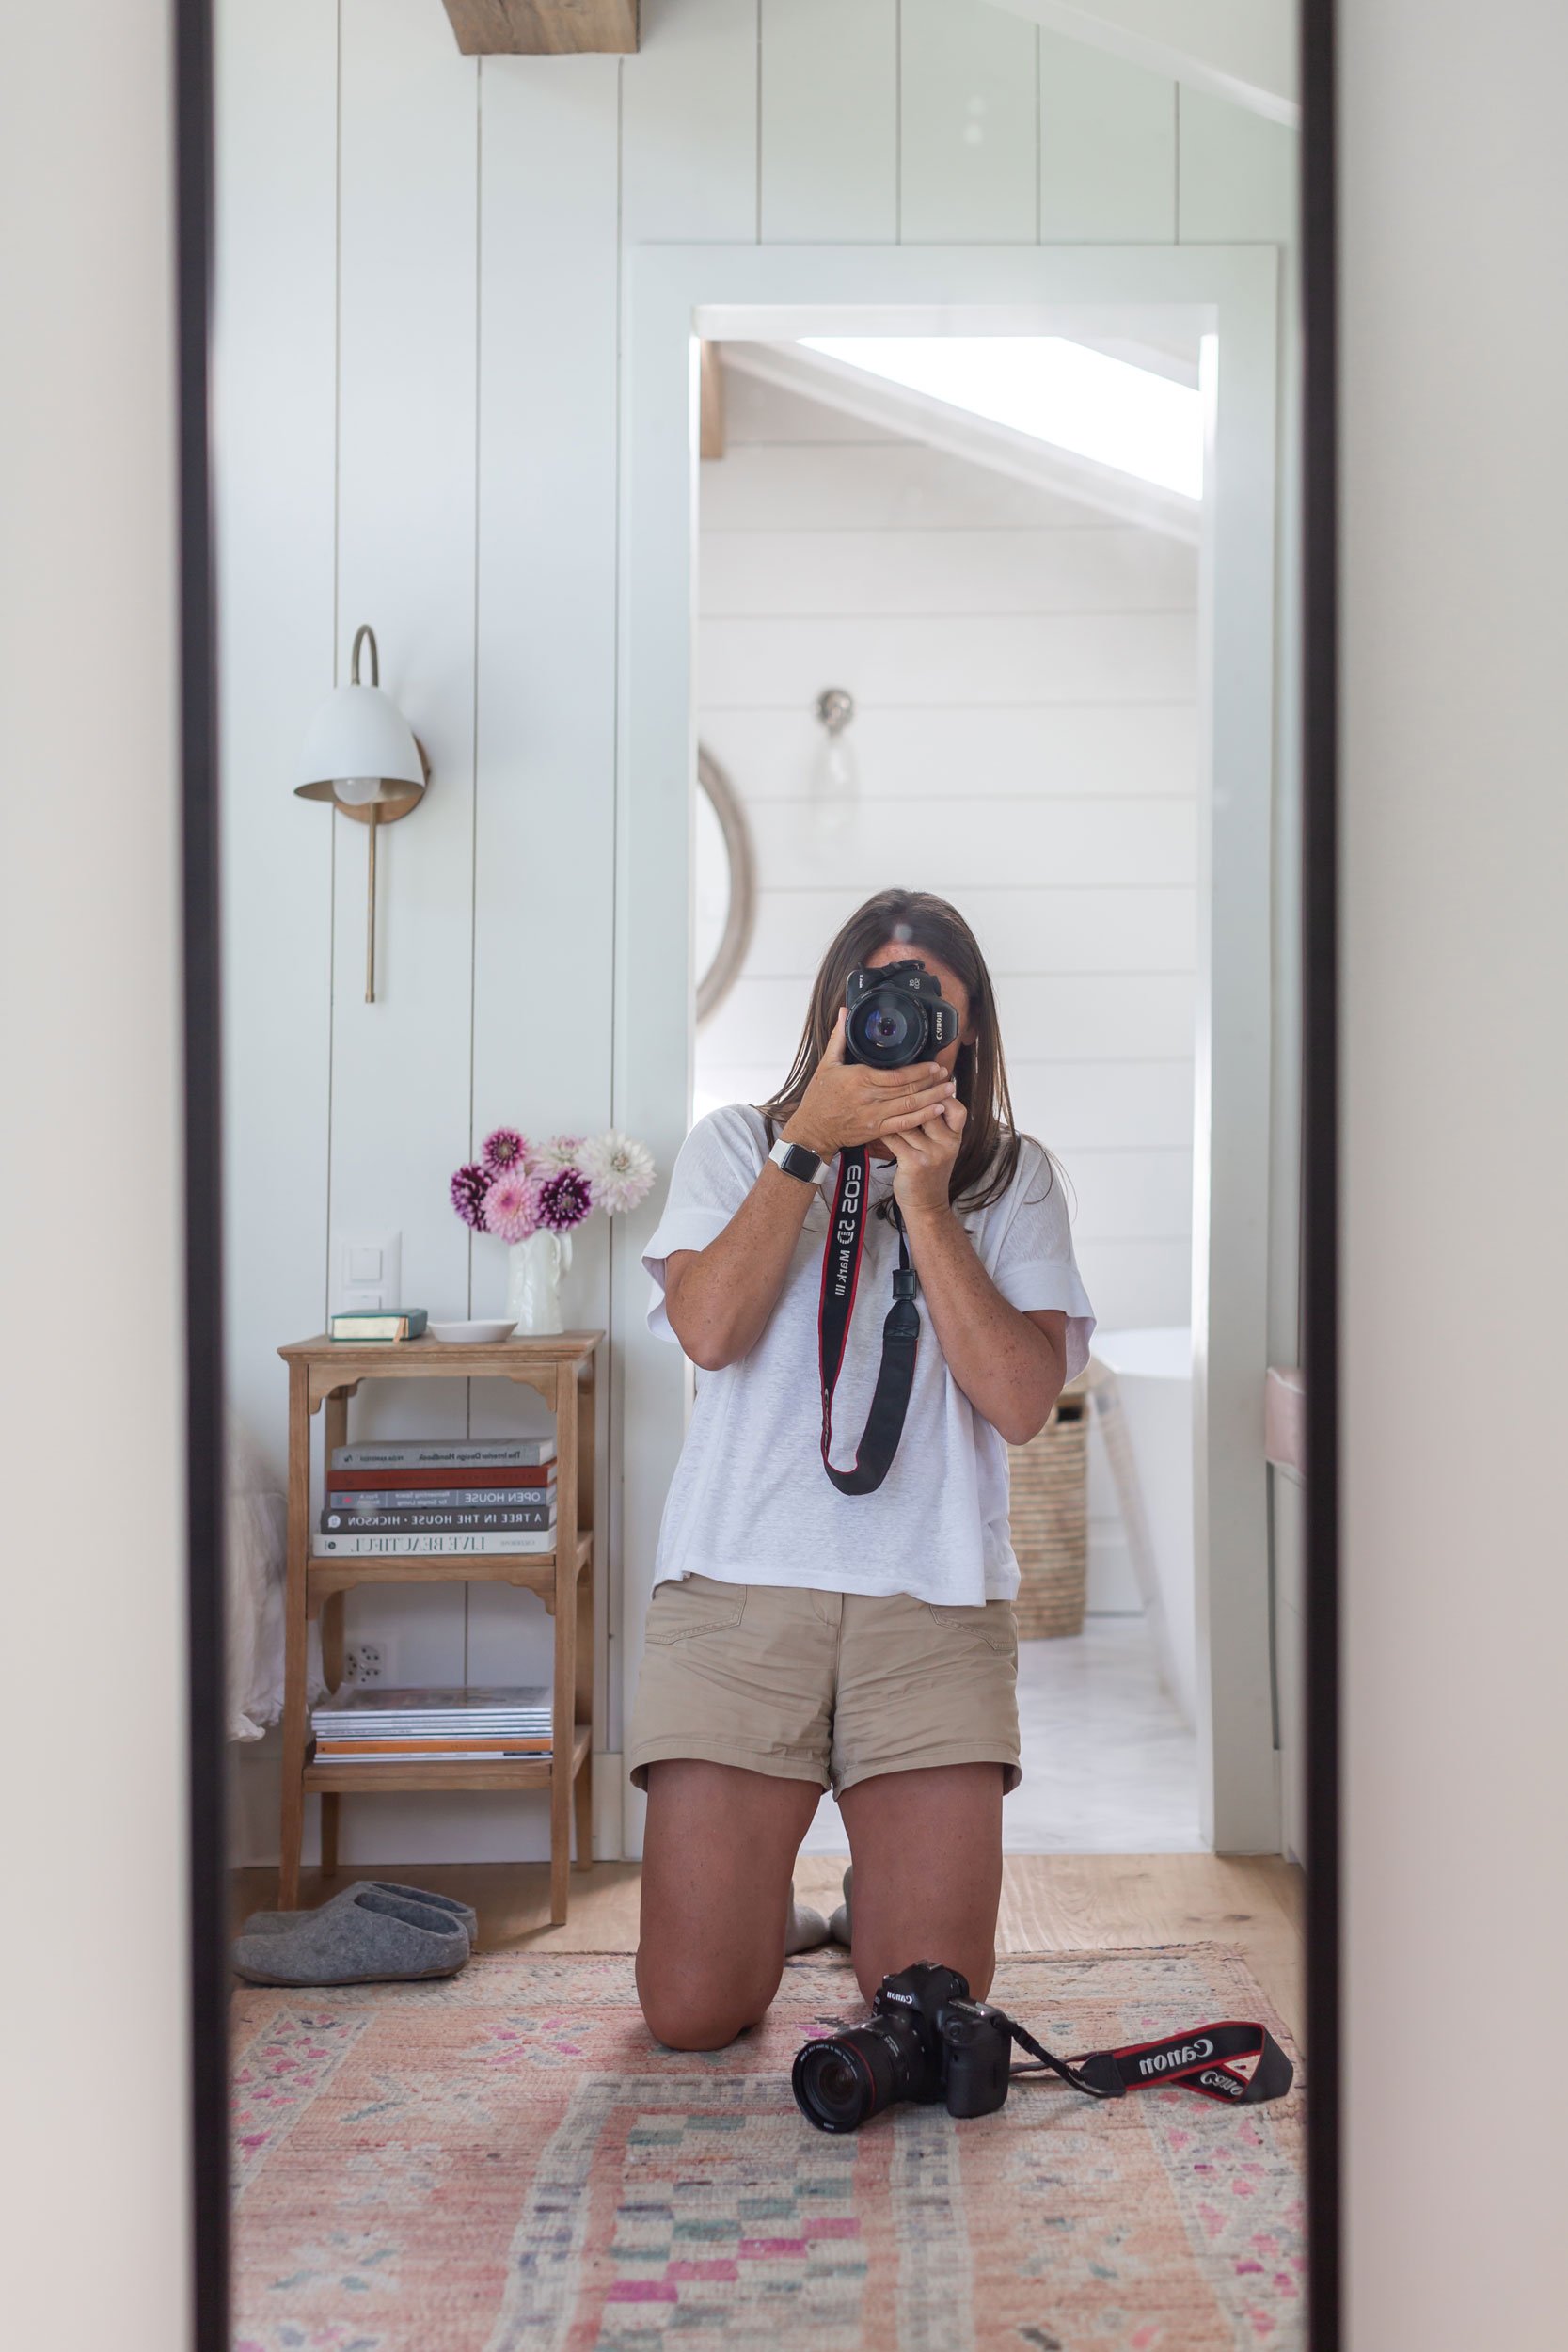
Prepare your Gear
Make sure you have the right equipment ready. A tripod is essential for stable, sharp images. A wide-angle lens is generally needed to capture as much of the space as possible. A flash may be necessary for balancing light, but use it wisely to avoid harsh shadows and maintain the natural ambiance.
Think About Lighting
Lighting is crucial in interior photography. If possible, use a mix of natural and artificial light to avoid harsh shadows and bring warmth and depth to the photos. Light can dramatically affect the mood and atmosphere, so consider the interplay of light and shadows carefully.
Staging
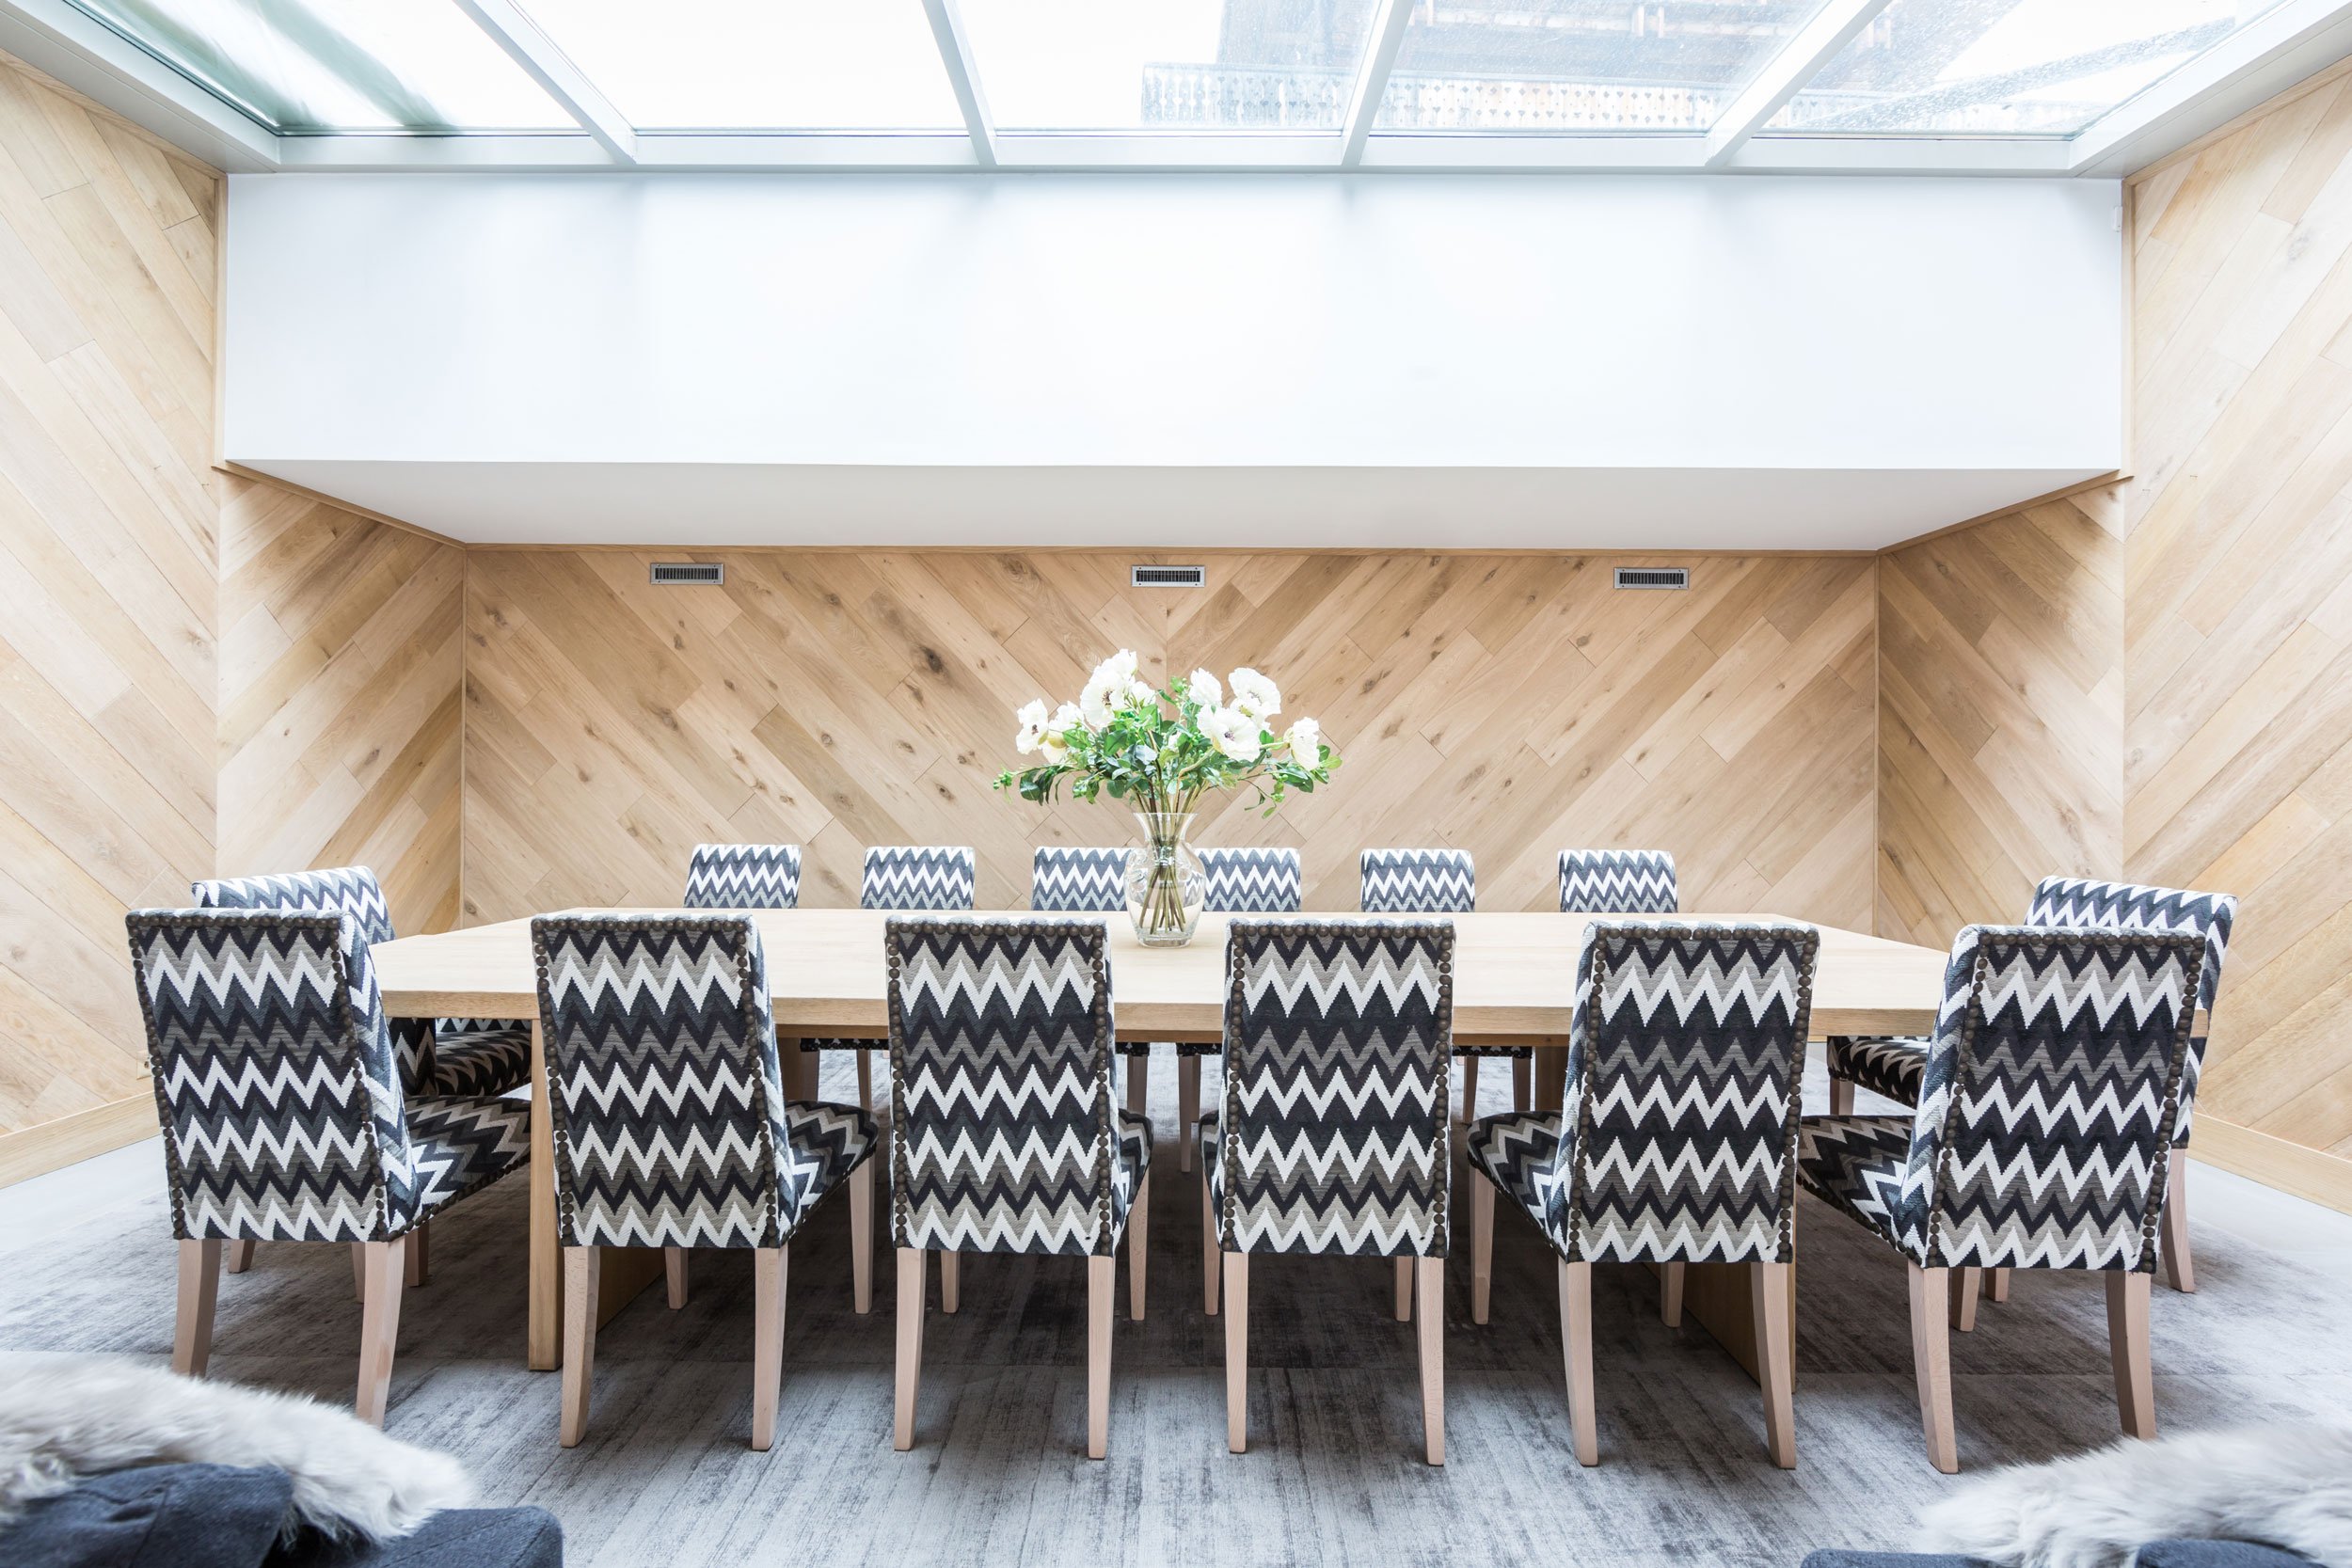
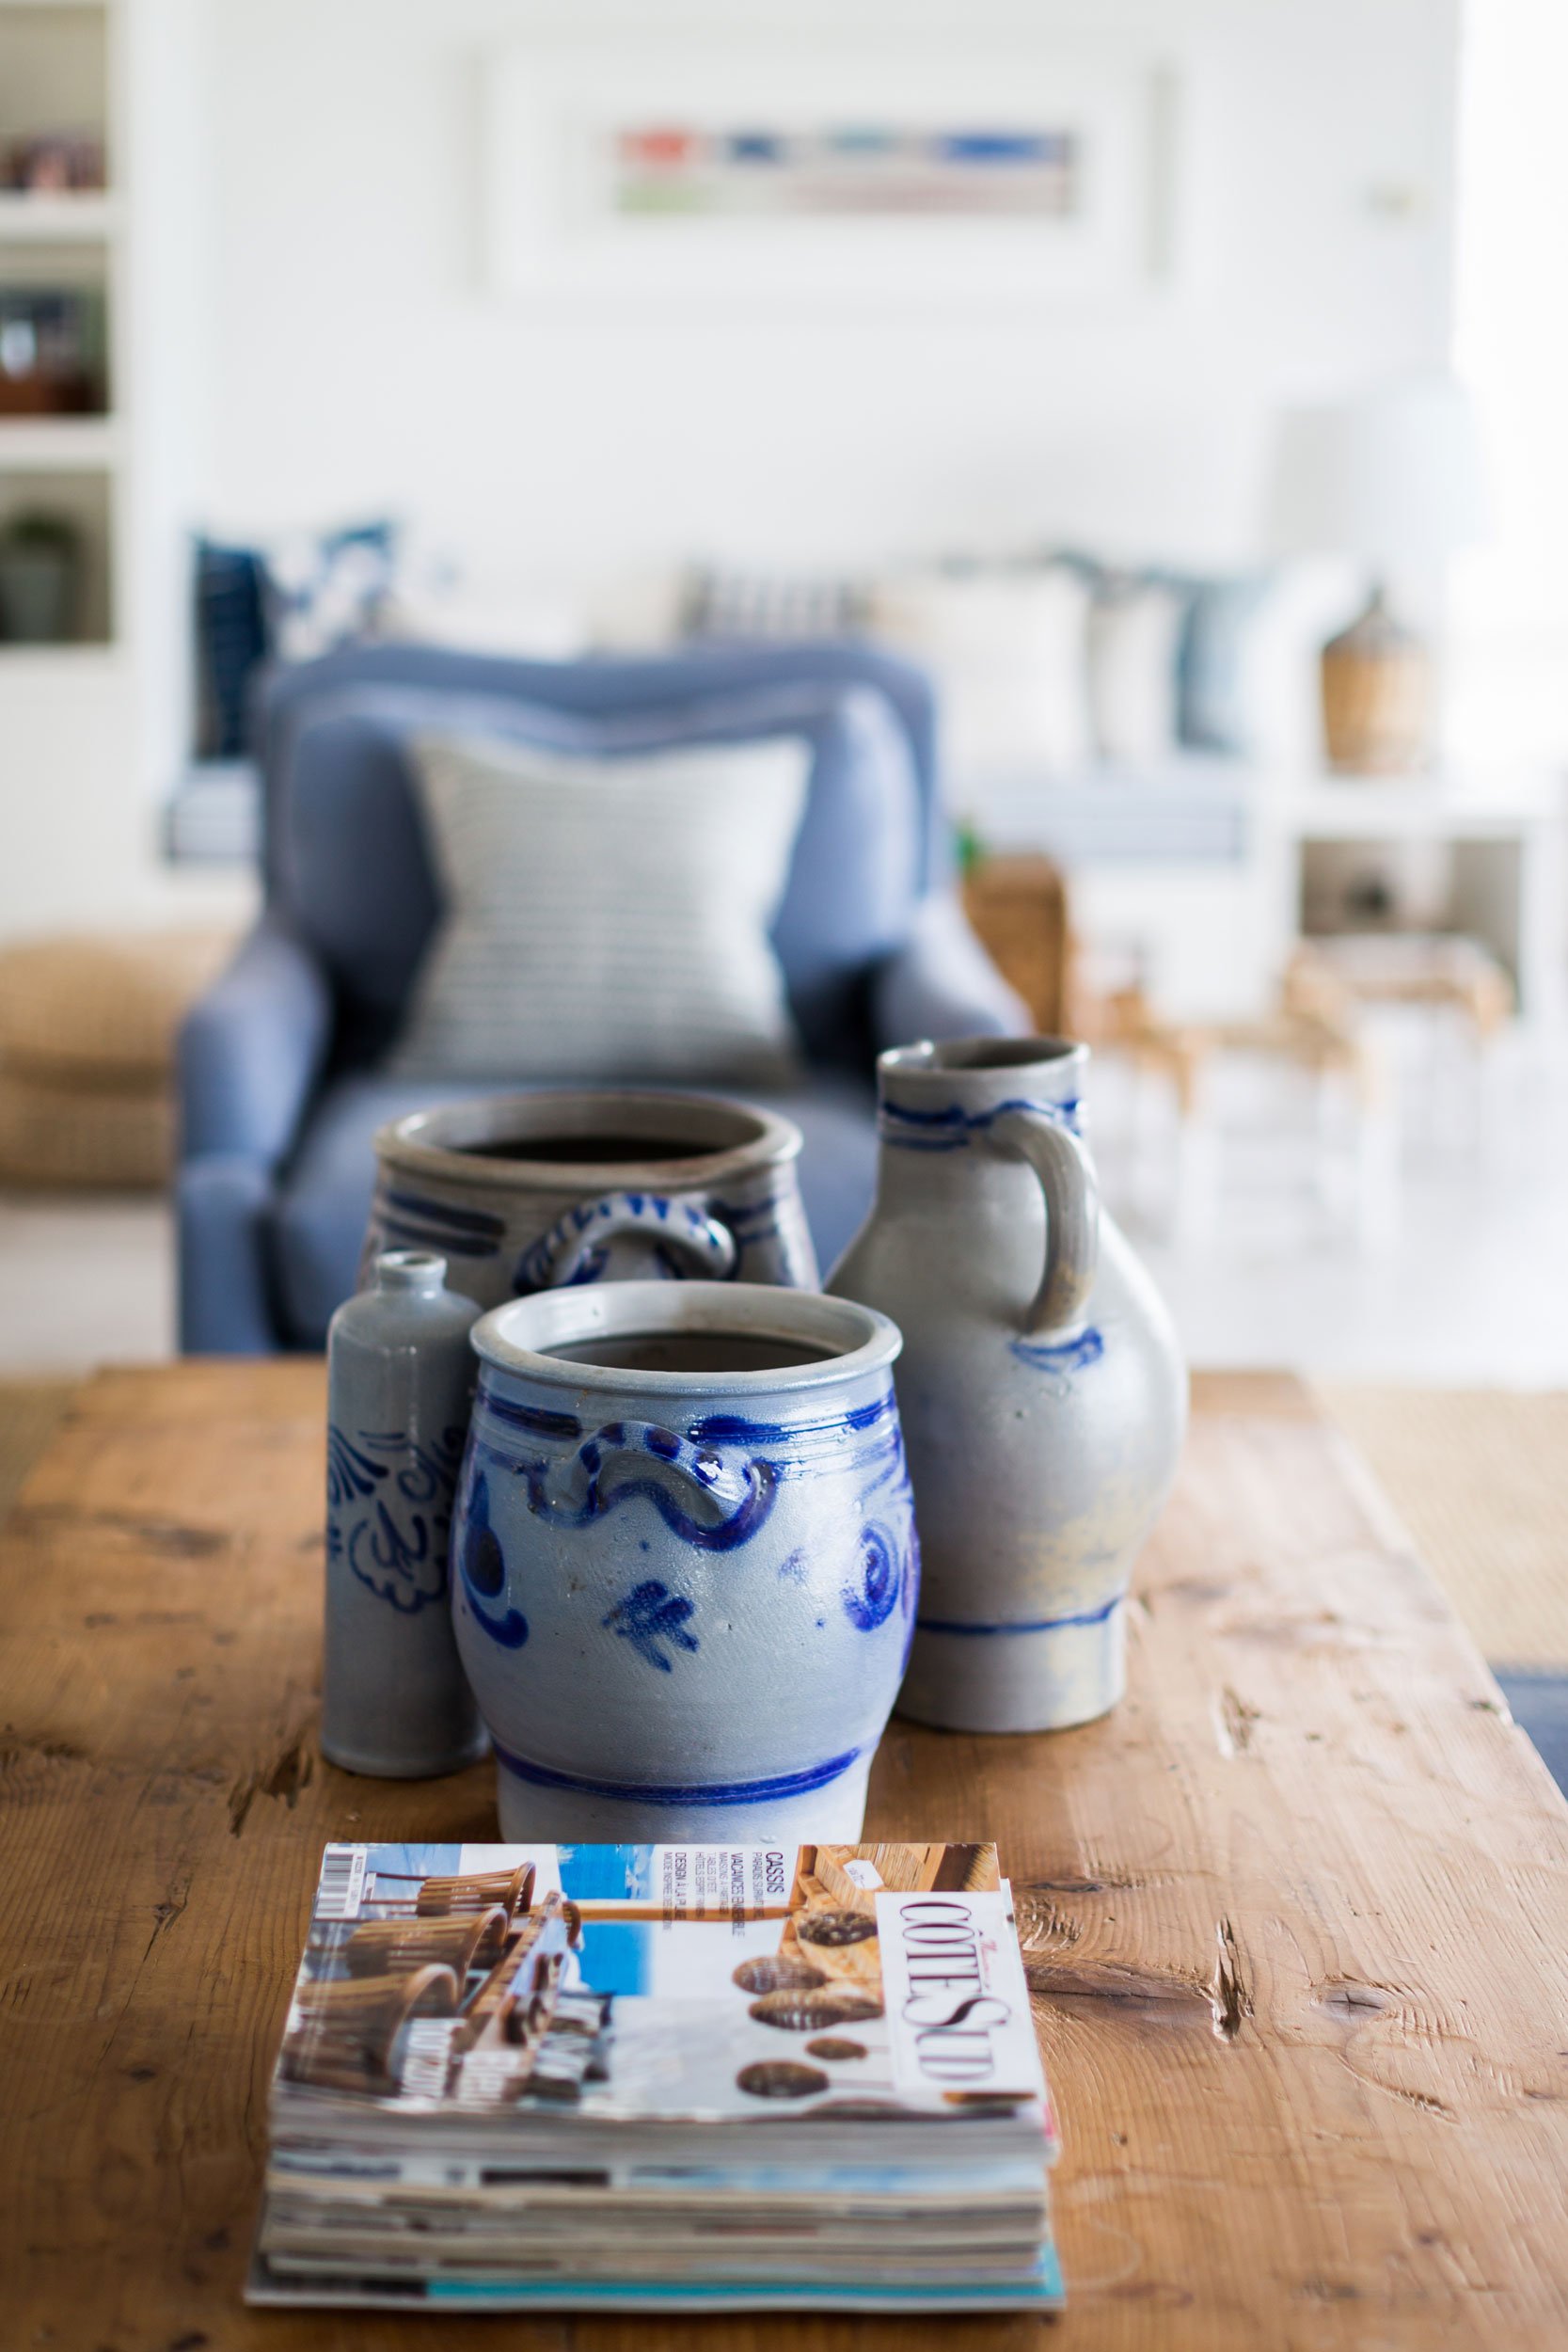
Staging can help a space look its best. This might mean moving some furniture around, decluttering, or adding props like flowers or magazines. Be aware, though, that the space should look lived-in, not like a sterile showroom. But also you don’t want it to look too cluttered, so a balance is key.
Technical Considerations
Consider your depth of field, focusing on key areas while allowing others to gently fade out of focus can give your image depth. Use bracketing to help deal with high contrast situations.
1. Mode: Start with Aperture Priority mode and select a small aperture (large f-number) such as f/8 or f/11 to ensure a wide depth of field for sharpness throughout the scene. But if you can work in manual mode, please do.
2. ISO: Keep ISO low (like 100 or 200) to avoid noise.
3. White Balance: Adjust according to the lighting conditions. Auto can often work, but for more control, try Daylight or Cloudy when shooting in natural light, or Tungsten/Fluorescent for artificial light.
4. Exposure Bracketing: Useful to capture a range of exposures you can blend in post-processing, helping to handle high contrast situations. Some cameras have a great results with HDR, but I personally don’t use this.
Equipment
1. Lens: Use a wide-angle lens (24mm or wider on a full-frame camera, or the equivalent on a cropped sensor) to capture as much of the space as possible.
2. Tripod: For sharp, well-composed shots, a tripod is essential, especially as you'll be using slower shutter speeds due to the smaller aperture.
Composition and Angles
1. Angles: Shoot from a corner of the room to include as much of the space as possible. Try different heights: eye level often works, but shooting from waist height can also give interesting results.
2. Straight Lines: Ensure your vertical lines are straight - this is crucial for interior photography. If they're converging or diverging, adjust your camera position or correct in post-processing.
3. Detail Shots: Along with wide shots, capture some close-up detail shots to highlight unique features. This is personally my favourite part!
Remember, these are just starting points. The best settings and angles can vary depending on the specific location and lighting conditions, so don't be afraid to experiment and adjust as needed.
Post-Processing
Always plan for post-processing. This can include color correction, balancing exposure, and removing any unwanted elements in the images. Be aware when sending a quote to your client that sometimes this can take longer than the photography itself, so make sure you are compensating yourself correctly for your time.
Plan for Extra Time
Things often don't go exactly as planned, so be sure to add some buffer time to your schedule. This will allow you to deal with unexpected issues or take additional shots as needed.
By careful planning and preparation, you can ensure that your interior photography shoot goes smoothly and delivers high-quality, professional images that meet your client's needs and expectations.
Read the following link for tips for the homeowner or interior designer: Property Photography - Homeowner or Interior Designer